


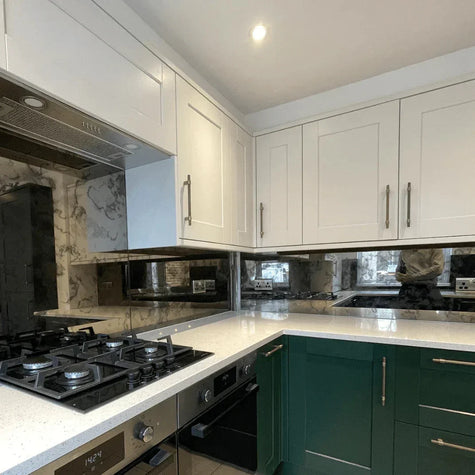


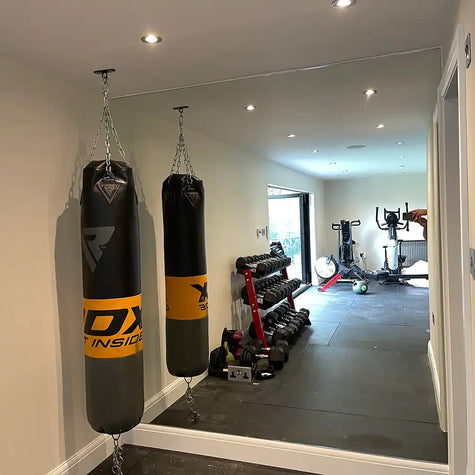


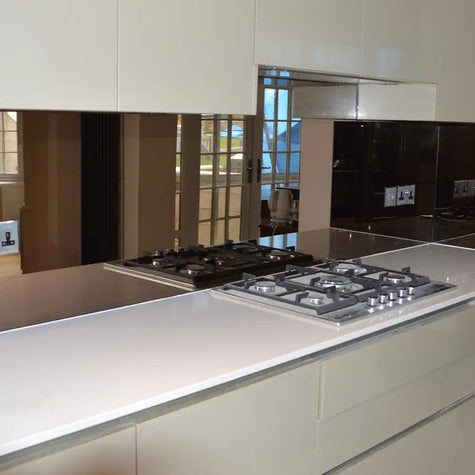


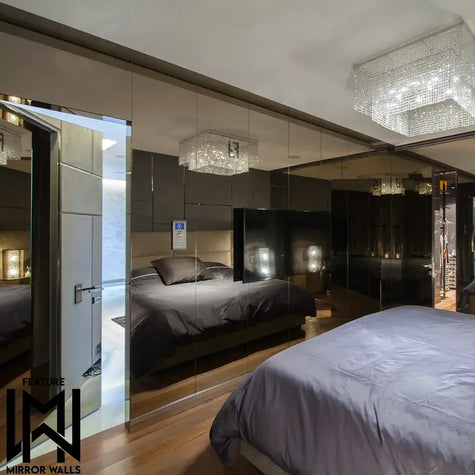


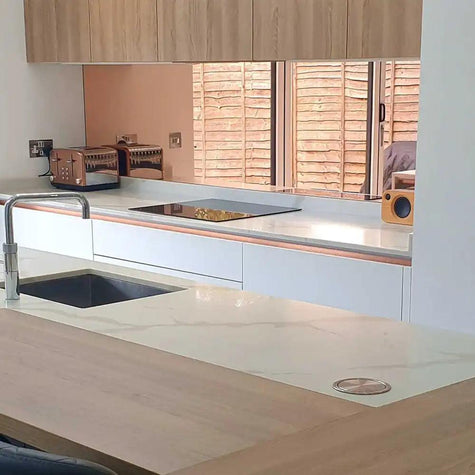


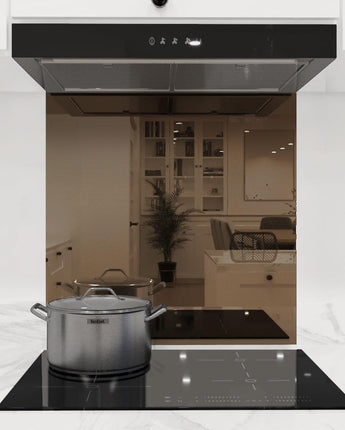
MIRRORED - DIY


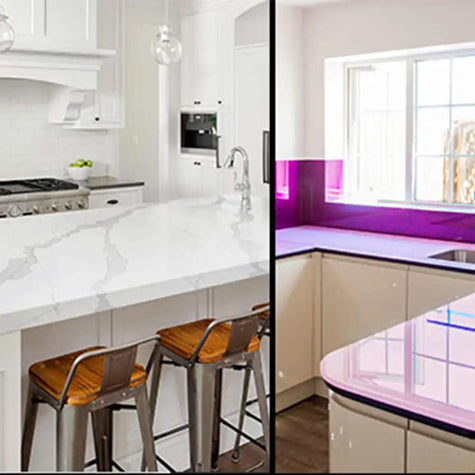
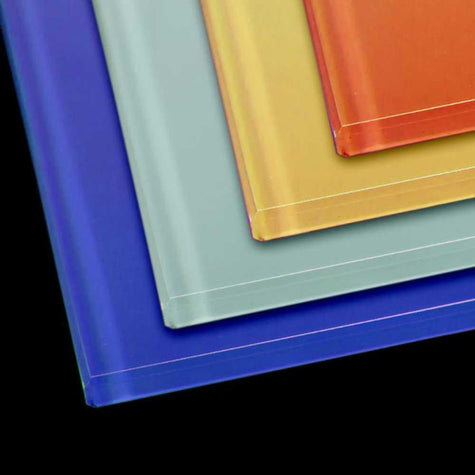
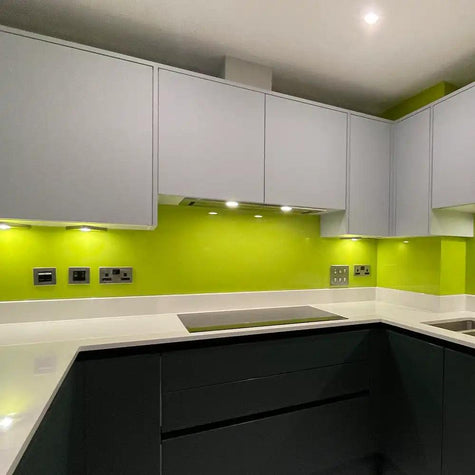
PLAIN COLOUR - DIY


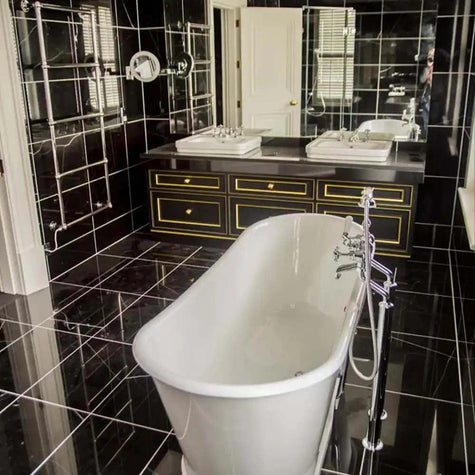
MATT FINISH - DIY


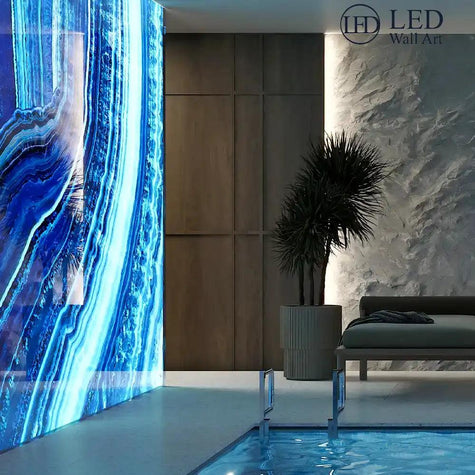
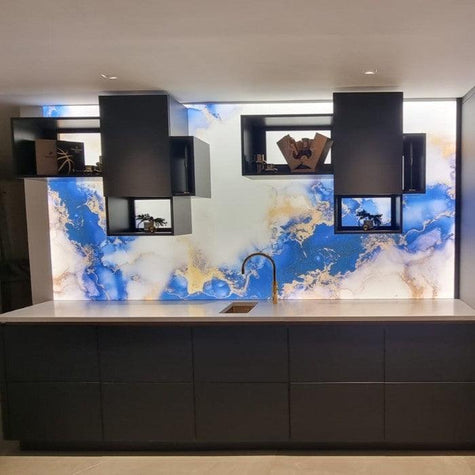
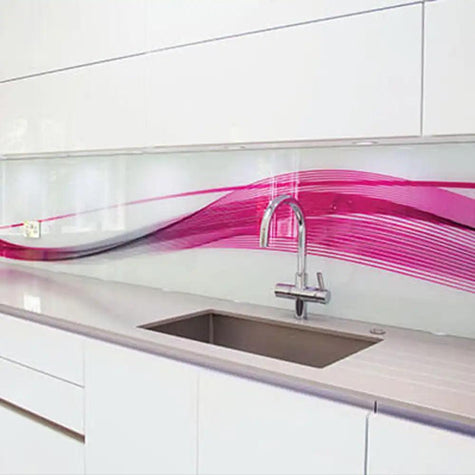
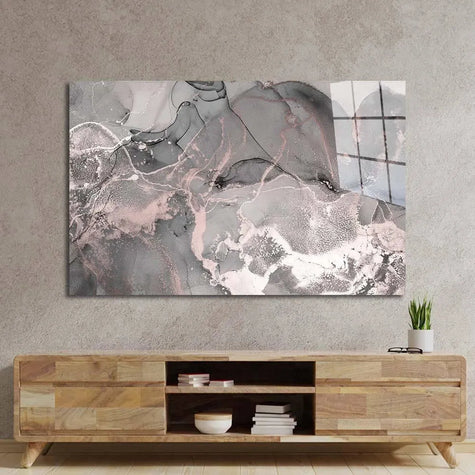
GRADIENT - DIY


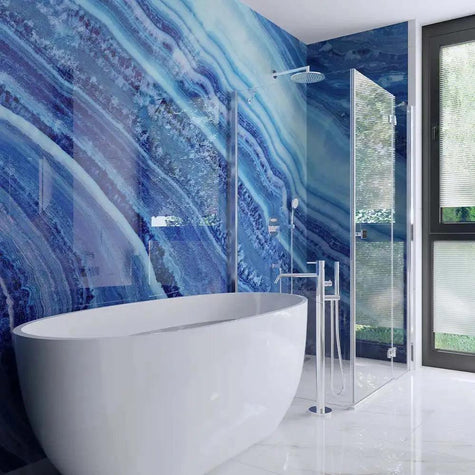
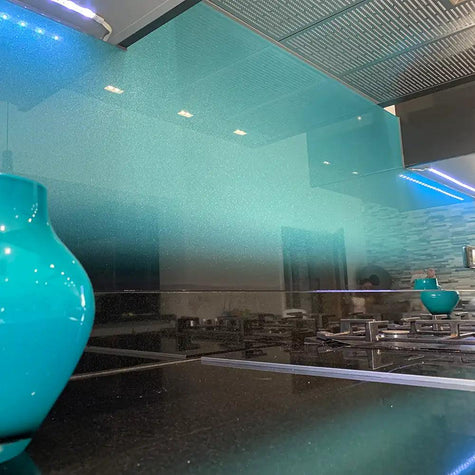
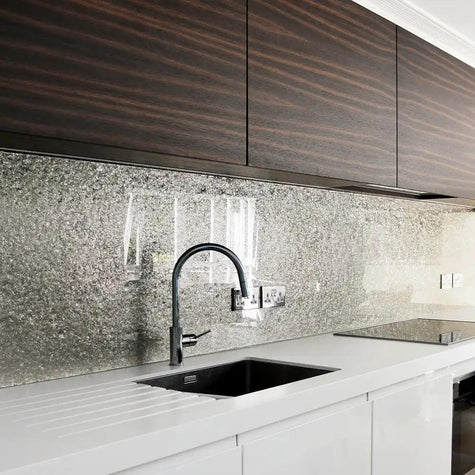
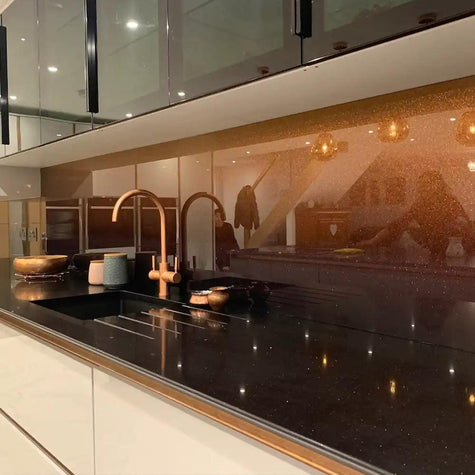
CRYSTAL STONES - DIY


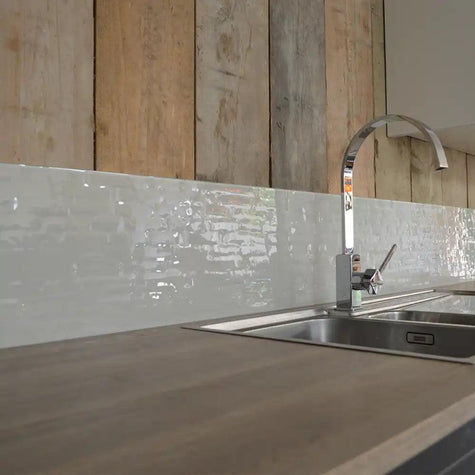
TEXTURED - DIY


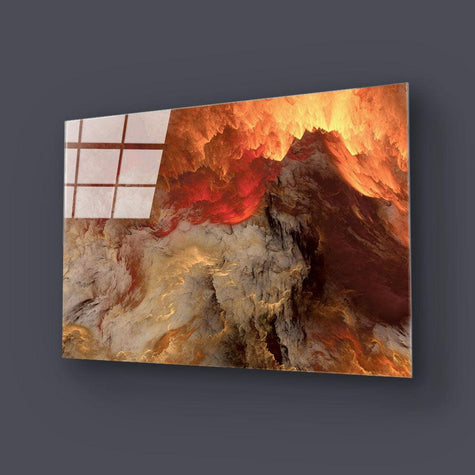
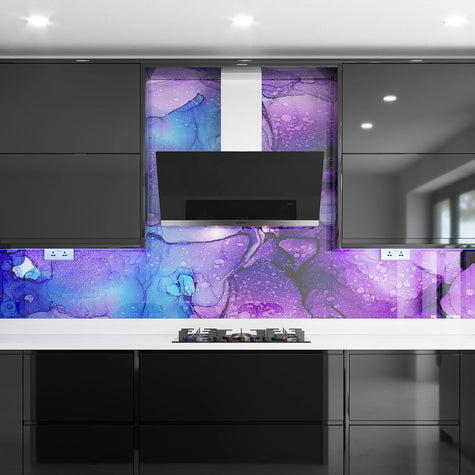
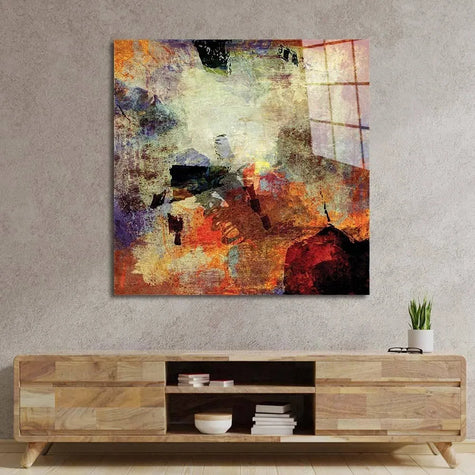
ABSTRACT - DIY


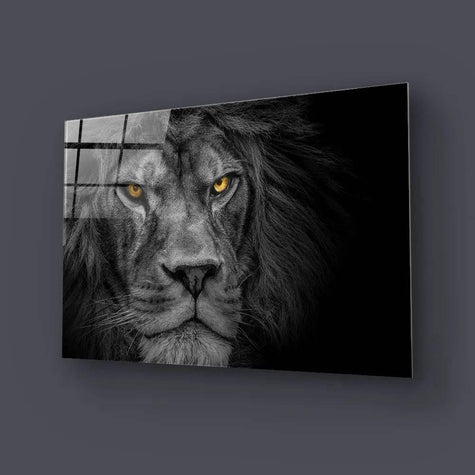
ANIMALS - DIY


FLOWERS - DIY


DIY SPLASHBACKS FAQs
What type of glass is used in DIY splashbacks?
CreoGlass uses toughened (tempered) low-iron glass, which is stronger, more heat-resistant, and has minimal green tint—ensuring vibrant colors and durability.
Can you match a specific paint colour or design?
Yes! They colour-match to virtually any paint—brands like Farrow & Ball, Dulux, Crown—or even custom imagery, glitter, and metallic finishes are available.
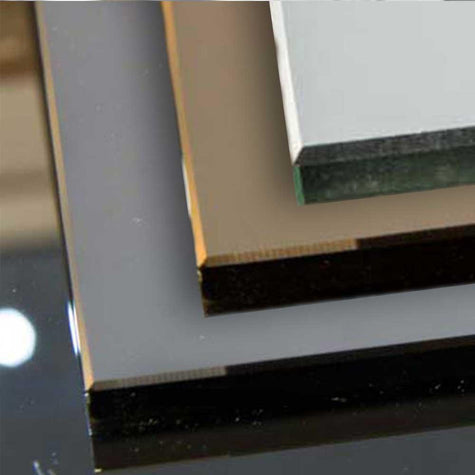
What thickness are the DIY splashbacks?
Standard glass panels are 6 mm thick, offering a sleek and sturdy option.
Are these splashbacks safe behind a hob or cooking area?
Absolutely. The toughened glass can withstand temperatures up to 400 °C, making it ideal behind hobs or cookers.
How should I clean and maintain the glass?
Wipe with a soft cloth and non-abrasive glass cleaner. Avoid harsh chemicals or scouring pads that could scratch the surface.
How do I measure for a perfect DIY fit?
Use the datum line method (drawn level lines crossing at 90°) to sketch your wall layout, mark sockets and edges, and include precise measurements—this ensures a seamless fit
What about removal if I want to replace or upgrade?
Use a wire “cheese” cutter to slice through the silicone adhesive at the back. Wear goggles and gloves—toughened glass shatters into small pieces. CreoGlass can also help remove old tiles or splashbacks for a fee.
What step-by-step process should I follow for DIY installation?
- Measure accurately using the datum line method.
- Order your bespoke splashback (including color, finish, and any cut-outs).
- Prepare the wall—ensure it’s clean, level, and dry.
- Apply clear silicone adhesive (leave ~2 mm gap around edges).
- Install the glass, allowing an expansion gap where necessary.
- Seal edges carefully and allow adhesive to cure fully.
- Clean with a soft cloth once set.