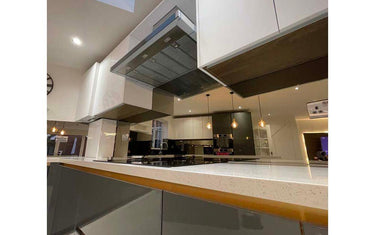
A mirror splashback can change the character of a kitchen without changing its footprint. It reflects light and surrounding finishes, so the best design decision starts with the whole room—not just a small sample of glass.
1. Make the hob wall the focal point
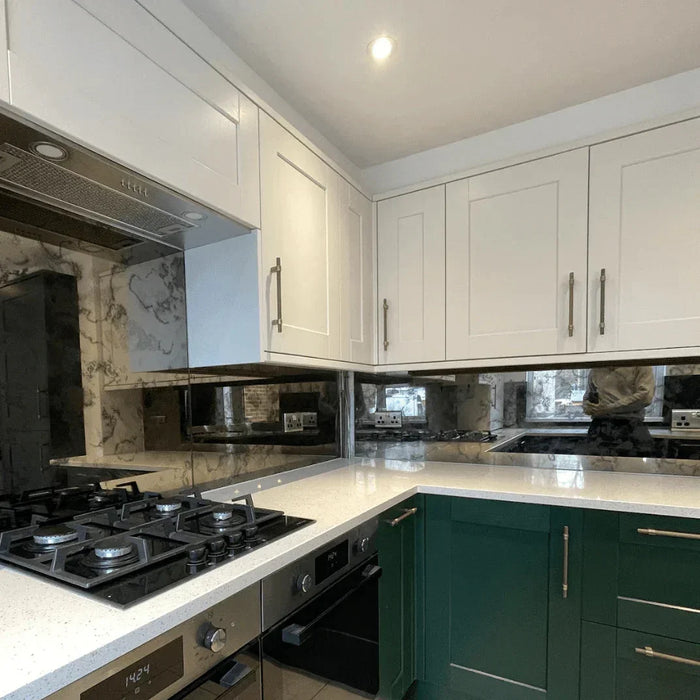
A single mirrored panel behind the hob can become the visual centre of the kitchen. Its width should relate to the extractor, cabinets and worktop rather than be chosen in isolation. The glass specification must be confirmed for its position and appliance.
2. Continue the mirror along the worktop
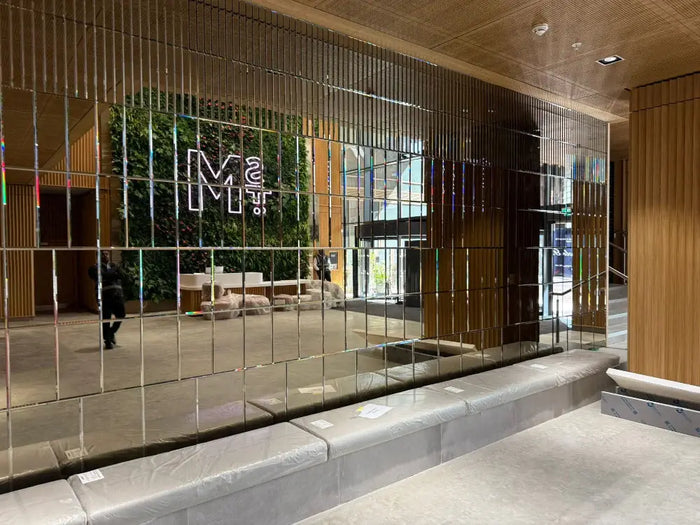
A longer run can make a narrow kitchen feel more open. With several panels, plan the joint positions early so they relate cleanly to cabinet edges and corners. Think about what the glass will reflect when you are standing in the room.
3. Choose the colour of the reflection
Silver gives the clearest, brightest impression. Bronze tends to warm up neutral materials, while grey can create a quieter, more architectural look. An antique mirror splashback offers pattern and a less direct reflection if you want more texture.
4. Treat sockets as part of the design
Socket positions, switch plates, corners and the distance from the worktop all affect the panel layout. Moving an outlet may not be practical, but aligning cut-outs carefully can make the finished wall feel more intentional. Confirm every position before the glass is manufactured.
5. See the finish in your kitchen’s light
Cabinet colour and daylight change the appearance of reflective glass. If you are choosing between finishes, compare them against your actual worktop and doors rather than relying only on a screen image.
Browse made-to-measure kitchen mirror splashbacks. Send CreoGlass a photograph, rough dimensions and your preferred finish through the project enquiry page; we can discuss the next steps for supply or installation.